
What You’ll Need
- Kamado grill with a pizza stone (cordierite or ceramic, at least 14 inches)
- Heat deflector (platesetter)
- Pizza peel (long-handled, for sliding pizza onto the stone)
- Parchment paper or semolina flour (to prevent sticking)
- Ingredients: pizza dough, tomato sauce, mozzarella, and your favorite toppings
Step 1: Prepare the Dough (The Night Before)
Great pizza starts with great dough, and great dough needs time. For a 12-inch pizza, mix 250g bread flour, 160ml warm water, 5g salt, and 2g instant yeast. Knead until smooth, form into a ball, coat with olive oil, and refrigerate in a covered container for 24–48 hours. The slow cold fermentation develops complex flavor and a light, airy crust.
Two hours before cooking, remove the dough from the fridge and let it come to room temperature. This makes it easier to stretch and prevents it from shrinking on the peel.
Step 2: Set Up the Kamado for Pizza
Proper setup is critical for pizza success:
- Fill the firebox 2/3 full with lump charcoal and light it across a wide area.
- Once the charcoal is established, place the heat deflector on the fire ring, ceramic side down.
- Place the pizza stone on top of the cooking grate, centered over the deflector.
- Open both vents fully and close the lid.
- Let the grill preheat for 30–45 minutes. This is non-negotiable — the stone needs time to absorb heat evenly. Target 550–600°F on the dome thermometer.
Why the heat deflector? It creates an indirect cooking environment, so the pizza bakes from radiant heat above and below rather than burning the bottom on direct flame. The stone stores that heat and transfers it evenly to the crust.
Step 3: Stretch and Top the Pizza
While the grill preheats, prepare your pizza:
- Dust your pizza peel generously with semolina flour or cornmeal (or use a piece of parchment paper).
- Stretch the dough by hand — start by pressing it flat from the center outward, then pick it up and let gravity stretch it as you rotate. Aim for a 12-inch round with a slightly thicker edge (the cornicione).
- Transfer the stretched dough to the prepared peel.
- Add a thin layer of sauce — too much sauce makes the crust soggy. Use the back of a spoon to spread it, leaving a 1-inch border.
- Add shredded mozzarella (fresh mozzarella should be patted dry first to remove excess moisture).
- Add your toppings sparingly. Classic margherita: basil leaves, a drizzle of olive oil, and a pinch of salt. Pepperoni: layer slices without overlapping. Remember: less is more on a kamado pizza.
Step 4: Launch and Bake
- Give the peel a gentle shake to make sure the pizza slides freely. If it sticks, gently lift the edge and sprinkle more semolina underneath.
- Open the kamado lid and quickly but carefully slide the pizza onto the preheated stone. Aim for the center.
- Close the lid immediately and set a timer for 4 minutes.
- After 4 minutes, check the pizza. Use the peel to rotate it 180 degrees for even baking (kamados can have hot spots).
- Bake 3–5 more minutes, checking frequently. The pizza is done when the crust is golden brown with dark blistered spots, the cheese is bubbly, and the bottom is crisp (use a spatula to peek underneath).
- Total bake time: 7–10 minutes at 550–600°F.
Step 5: Finish and Serve
Remove the pizza from the grill using the peel. Let it rest on a cutting board for 1–2 minutes before slicing — this allows the cheese to set and prevents the toppings from sliding off. Finish with fresh basil, a drizzle of high-quality olive oil, a sprinkle of flaky sea salt, or a pinch of red pepper flakes.
Troubleshooting Common Pizza Problems
- Soggy bottom crust: The stone wasn’t preheated long enough, or you used too much sauce/too many wet toppings. Preheat 45 minutes and go lighter on toppings.
- Burnt bottom, raw top: The heat deflector isn’t positioned correctly, or the stone is too close to the fire. Make sure the deflector is centered and the stone is on the main grate, not directly on the deflector.
- Pizza stuck to the peel: Not enough semolina/cornmeal, or you took too long topping it. Work quickly and use parchment paper as a backup.
- Uneven baking: Hot spots in the charcoal. Rotate the pizza halfway through. For future cooks, distribute the charcoal more evenly.
- Crust too thick/doughy: The dough wasn’t stretched thin enough, or the grill wasn’t hot enough. Stretch to 1/4-inch thickness and make sure you’re at 550°F+.
Pro Tips for Next-Level Pizza
- Use a 00 flour blend for an authentic Neapolitan crust texture.
- Pre-cook raw sausage, bacon, or vegetables before topping — the short bake time doesn’t cook them through.
- For a charred, leopard-spotted crust, bump the temperature to 650°F and bake for 5–6 minutes.
- Make dessert pizza: Nutella, sliced bananas, and a dusting of powdered sugar after baking.
- Keep a water spray bottle handy — a light mist on the dome interior creates steam that improves crust rise.
With a little practice, you’ll be making kamado pizza that impresses even the most discerning pizza snobs. Buon appetito!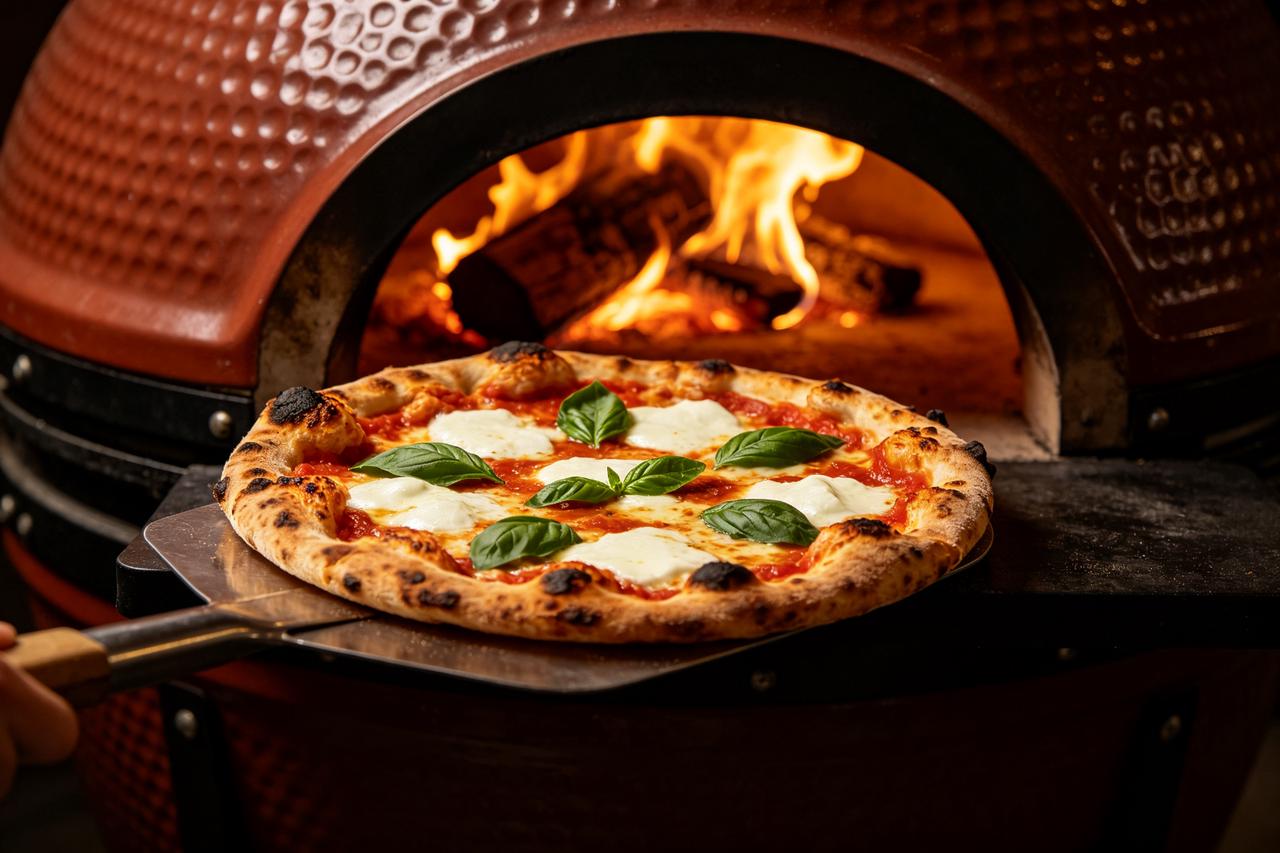
Post time: Aug-18-2026